
Hey all!
Firstly, I'm honored to be making this post and I hope that this information blesses you guys and helps you get similar results and hopefully even better :D!
Joel asked me to make this post and to cover the technological aspect as well as the procedures for making something like this video.
Let's start with the technological side of things.
You honestly don't need the best PC and neither do you need the most amazing graphics card. All those things are great though and can drastically improve your performance and scale of project.
I have an Intel i7-3770K CPU and a NVidia GeForce 550Ti. The graphics card part doesn't make much of a difference as this was done in Blender Render (CPU Render engine).
Your focus, at least for part of your project, will be to knock down those render times as much as you can. 10mins per frame is far too long. 2-5mins puts you in a good place for quality and quantity, giving you approximately 10hrs render time for 10 seconds of animation (30/fps).
For a lot more information on speeding up render times:
- http://www.pantherdynamics.yolasite.com/panther-dynamics-blog/speed-up-renders-in-blender
- http://pantherdynamicsportfolio.yolasite.com/portfolio-blog/increased-speed-results
My personal favorite part - getting the character ready for a video or render.
All the characters, including the crowds, were done with Make Human as a starting point. Some of you may know my first Make Human tutorial was on this very topic:
(Still so thankful for that one - GOD always leads and guides)
You can see a timelapse here for the first chamberlain:
- Clothing:
The great part about the stable make human build from around this time (1.0.2), and still is, is that you can slap on as many outfits as you want and if you hide the faces, they'll still be there on import in Blender with a stunning rig for IK and FK (if you didn't select a rig and exported to MHX).
Picking clothes will always depend on the character you want to make and the culture for which you make it. In this case, I had to go as Persian as possible. I used the long sleeve button shirt, the running shoes, jeans, the suit, and so on - all with the focus on changing them later on. Think of it as placing geometry where you need clothes to be. Make Human's imported weights are a lot better than the automatic weights you get in Blender, so as much fabric as you need, get it in Make Human before export.
Now in blender (or 3D software of choice) you get to go to town on the outfits imported! You can cut, resize, merge, etc., within reason. Remember that every vertex is weighted to move, so obviously you can't pull a vertex up to the nose and expect it to fold correctly, haha.
Shoes were an obstacle at first, because they didn't bend, BUT, HE's given me a very quick way to get them flexing as if weighted to do so:
https://www.youtube.com/watch?v=TtXro0IA0uU
Another creative way to make clothes is to use the body itself as your basis for clothes. In Blender you have something called the solidify modifer. It enables you to, for lack of a better term, inflate your body mesh. You can then use this copy to cut jackets, shirts, make gloves, etc. that are perfectly weighted with the rest of the body. The only downside is making pants is not so easy as there is a lot of vertices that are not visible. These can be removed in favor of bridging edge loops to create that more level surface. Mordecai's (the guy on the horse) jacket and shirt were specifically made this way.
- Character's face:
This is the big one for me. Again, this can be changed within reason. Since Make Human's initial targets, apart from specially made ones, mostly catered for realism, so your characters would still have an air of realism to them, but don't let that put you off, you can modify to your heart's content, again, within reason. For example, the Persian eyes tend to point up on the outer corners, like Haman here - also shows the progress on his clothes and face:
http://bibleanimations.yolasite.com/blog/haman-progress
For the emotions, I use shapekeys. If you remember little details, like when someone smiles, their cheeks push up and the eyes pinch on the outer corners, you'll do this step very quickly with proportional editing. Remember to do this for the eyebrows as well and for phonemes if that is what you prefer to use for animation. I only use the O for now.
- Additional modelling:
Almost every character you make will have things that are not part of the great asset collection we have in Make Human. Things like mustaches, flat style teeth, beards, special clothing, etc. While these can be added, every character is unique and will require modelling on some level.
For the video's characters, I had to model hair, hats, sashes, belts, beards, etc. The great part is that these are easy to attach if you model them either from existing pieces (like the beard from the face), know how to remove strange automatic weights (some bones are hidden) or just parent them to single bones that will move them (like hats or crowns). Mordecai's custom beard was my first run-in with weird automatic weights, hahaha. Led the right way and it works now; after parenting with automatic weights, I had to remove all the vertex groups except those that would affect the beard, which were then custom weight painted.
- Materials:
In the tutorial at the beginning of the post, I take you through the material process and, in the description, there is a PDF guide that shows you the settings. Having said that, for toon shading the two most important things in blender is that the size is not bigger than 1.28 for diffuse and that you steer clear of specularity as far as possible. Additionally, the Full Oversampling tick box anti-alias the edges of the shading and turning off Auto-Ray Bias removes the the last of the fuzziness of the shading - giving you that signature flat look.
- Duplication and editing:
Many projects need a ton of characters and that can really take a toll on your time, especially if you have to take everything from a base level. With everything being duplicatable, including materials, you can simply change the appearance for characters in uniform, for example. Here are the chamberlain's faces:
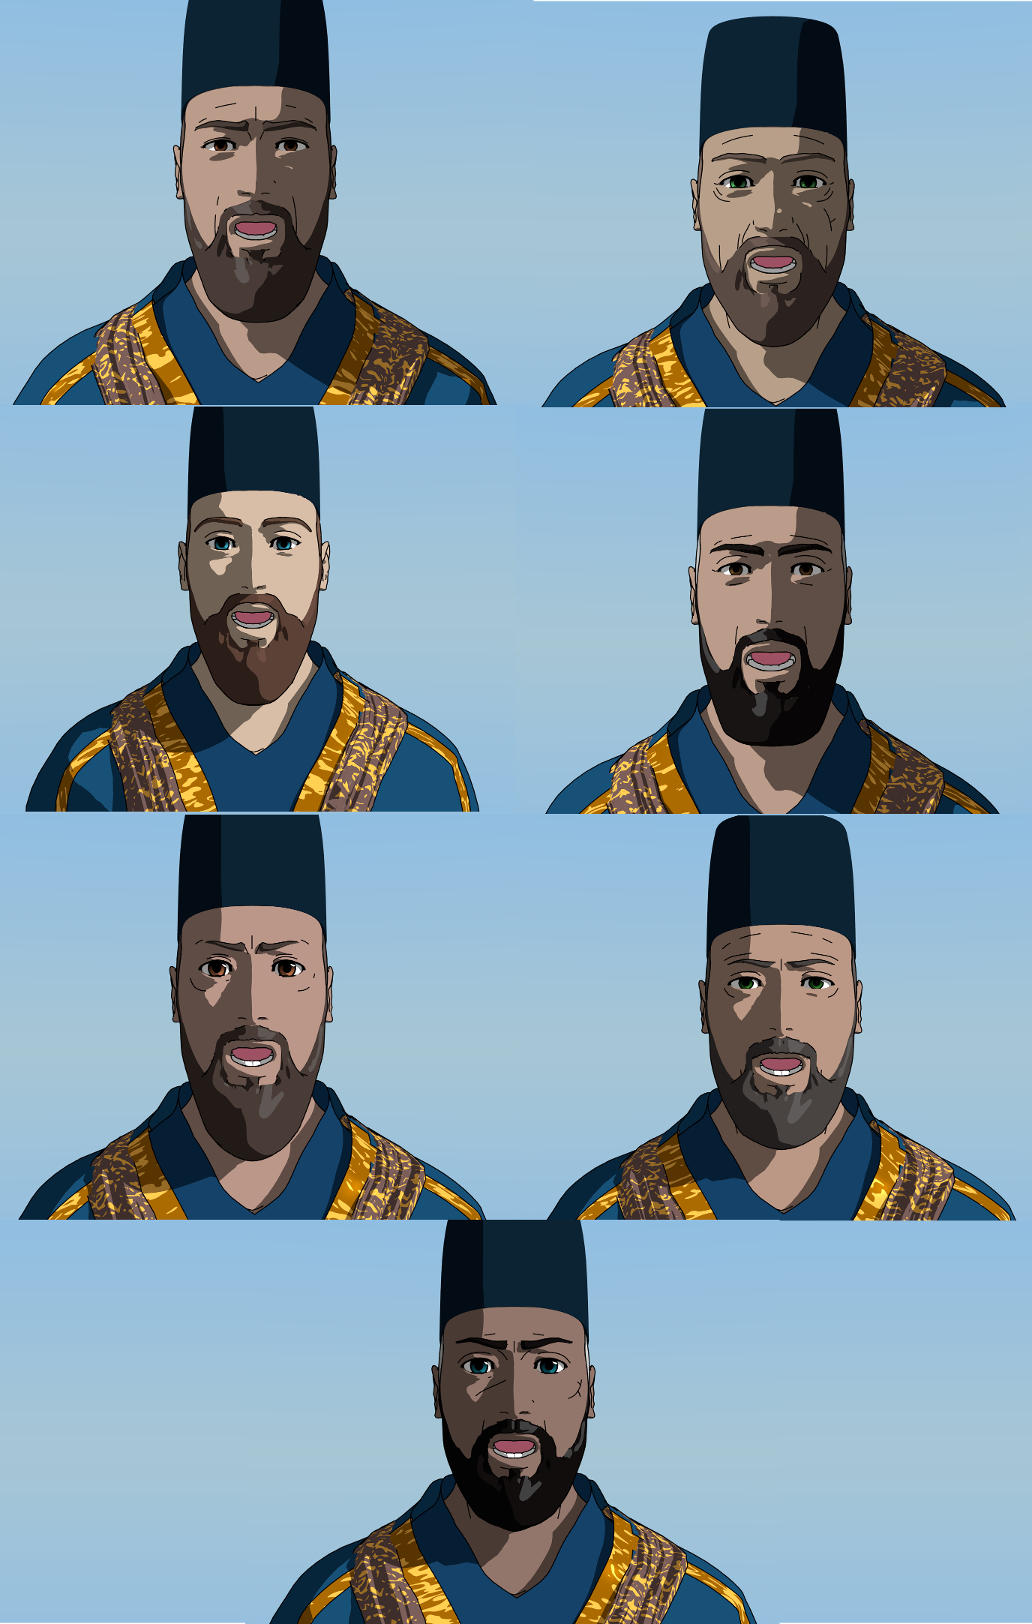
All adjusted from the one in the timelapse - and no, they are not in shock, just the easiest facial expression, imho, to adjust with, haha.
- Animation:
For the crowds, I had to join all the make human assets of each character together, remove the doubles and re-rig with a much simpler rig, because all they had to do was move a bit and wave.
As for lip syncing, there is a simple way to do it using the sound file itself:
https://www.youtube.com/watch?v=DAoBrCv2FIY
(Audio processing and application starts at 36:50)
The rest of the animation is pretty much keyframed like everything else, though I would like to give motion tracking a try :D!
All in all, it takes me, per character from base to finish, about 4+ hours, depending on what needs to be done.
Feel free to check out my YouTube channel for more tutorials:
https://www.youtube.com/channel/UCSL7DbnOWT_G6YqlMQmOnDA
If you are still reading, thank you for making it this far (haha, it's a lot to take in, I know) and I hope this is a post you'll find worth bookmarking for later.
Thank you again to Joel for asking me to write a guest post on this very broad topic. I really appreciate the opportunity!
Have a wonderful day
GOD bless!! :D